By Mike Goldstein | Updated Aug 30, 2022
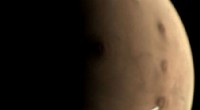
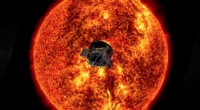
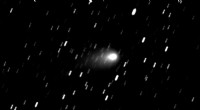
Camera zoom lenses and telescopes share many optical principles, which makes it possible to repurpose a lens for amateur astronomy. While a converted lens won’t rival a dedicated telescope for deep‑sky work, it provides crisp views of the Moon, planets, and nearby celestial objects—ideal for a quick, budget‑friendly setup.
Mark the precise center of the rear lens cap with a ruler, then drill a 1.5‑inch (38 mm) hole.
Insert a 1.5‑inch PVC pipe adapter into the hole and secure it with epoxy. Allow the adhesive to cure fully before proceeding.
Near the adapter’s far end, drill a small hole to accommodate a set screw. Tighten just enough to hold the screw in place; this will secure the eyepiece later.
Fit the telescope eyepiece into the adapter and tighten the set screw to lock it in position.
Attach the lens cap‑adapter‑eyepiece assembly to the zoom lens, then mount the lens on a tripod. Adjust focus by manually rotating the lens barrel.
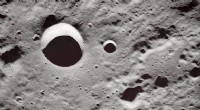
Short‑focal‑length zoom lenses (≈200 mm) excel at Moon observation; longer focal lengths (≈600 mm) reveal crater details and finer planetary features. Adjust magnification by sliding the eyepiece along the adapter with the set screw.
Try different eyepieces or add a diagonal for deeper views.
Ensuring the eyepiece sits centrally on the lens cap is critical for proper focus. Measure accurately before drilling.