By Kim Lewis
Updated Mar 24, 2022
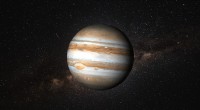
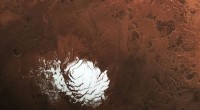
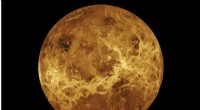
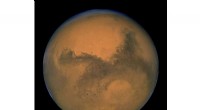
The solar system is composed of the Sun and eight planets. Pluto was reclassified as a dwarf planet in 2005, a decision made by the International Astronomical Union. In addition to the planets, the system contains dwarf planets, moons, asteroids, comets, and other small bodies.
Creating a three‑dimensional solar system model is a rewarding hands‑on project. By mounting Styrofoam spheres on a sheet of cardboard and hanging the assembly, you’ll have a clear, educational display that illustrates planetary positions and relative sizes.
Choose a cardboard sheet large enough to accommodate all eight planets. A 20‑by‑20 inch square is ideal; if you only have standard 8.5‑by‑11 sheets, tape two together to reach the required size.
Paint the cardboard black and allow it to dry. With a piece of chalk, draw a 3‑inch diameter circle in the center—this will be the Sun’s placeholder.
Create concentric rings around the Sun’s circle, spaced 2 inches apart. Lightly mark the intended position of each planet on these rings, using a reference diagram of the solar system for accuracy.
Choose spheres that reflect planetary size ratios:
Cut a 1.5‑inch Styrofoam disk and remove a central portion to create a ring. Glue this ring onto the center of a 1‑inch Styrofoam sphere to represent Saturn’s iconic rings.
Use the following color scheme to bring realism to the model:
There are two reliable methods:
Re‑paint any areas where glue may have smudged the colors.
Cut two holes on opposite sides of the cardboard, thread a length of string through both, and hang the completed model from a hook. This display can serve as a striking educational prop for classrooms or home learning.
Use small white paint dots to mimic moons and other celestial bodies. To draw circles without a protractor, tie a string to a chalk piece, hold the other end, and trace a perfect circle.